20-Minute Cardio Workout You Can Do in Your Living Room

20-Minute Cardio Workout You Can Do in Your Living Room

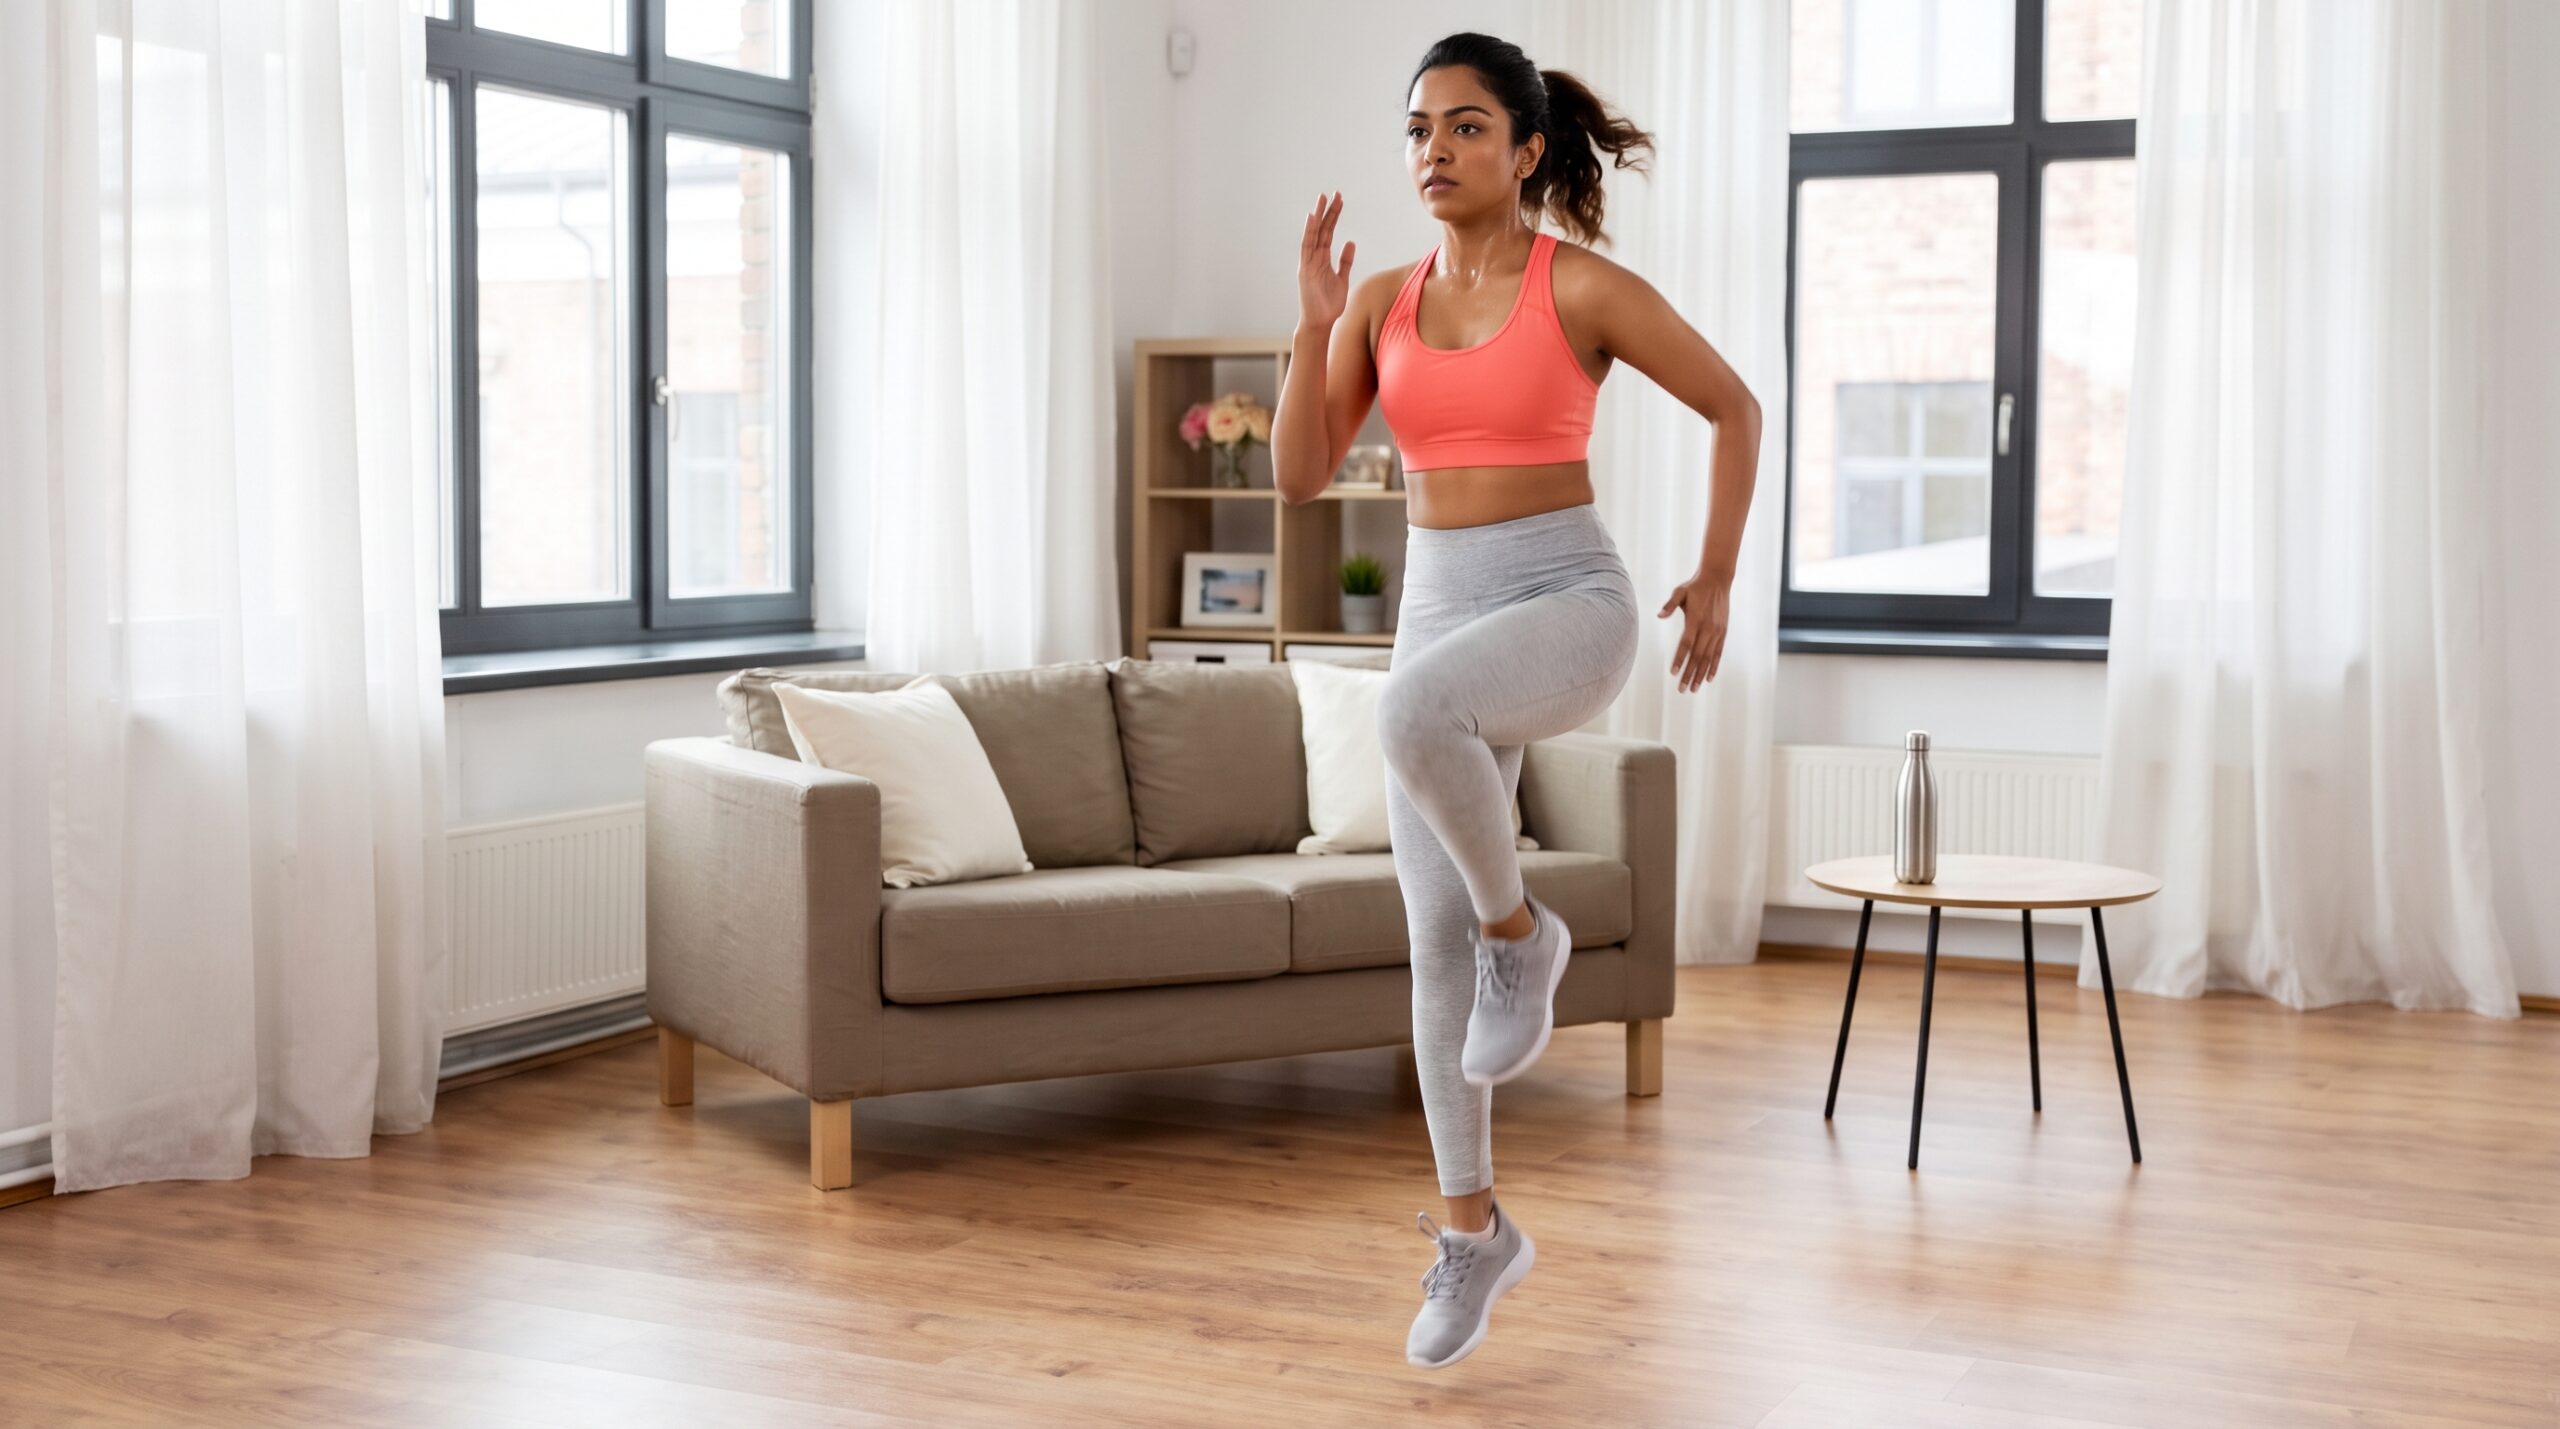
Woman performing high knees cardio exercise in her living room

The gym is closed. It is raining outside. You have exactly 20 minutes before your next commitment and zero equipment within reach. Most people in this situation do nothing, telling themselves they will make it up tomorrow.

Here is what you need to know: 20 minutes of focused cardio in your living room can match the cardiovascular benefit of a 45 minute moderate gym session. You have a living room. You have 20 minutes. That is genuinely enough. Here is exactly what to do with both.

Why Home Cardio Works as Well as the Gym

The gym is not magic. The treadmill does not burn calories more efficiently than your living room floor. What the gym provides is equipment variety, dedicated space, and the psychological commitment of having traveled somewhere specifically to exercise.

A well-designed cardio workout at home removes the equipment requirement while retaining everything else that actually matters: progressive intensity, adequate duration, and full-body engagement.

Your heart does not care whether it is pumping hard because of a stationary bike or because of a set of explosive burpees in front of your sofa. The cardiovascular demand, and the resulting fitness improvement, is the same. What changes is only the environment.

What You Need Before You Start

The equipment list for this workout is short:

  • A clear space approximately two meters by two meters, enough room to lie down and extend your arms overhead
  • Comfortable athletic shoes or bare feet on a non-slip surface
  • A water bottle within reach
  • A timer on your phone

That is it. No mat is required, though a yoga mat adds comfort if you have one. The workout is structured in three phases: a warm-up, the main cardio circuit, and a cooldown.

Warm-Up3 min
Main Circuit15 min
Cooldown2 min
Total session time: ~20 minutes

Phase 1: Warm-Up (3 Minutes)

Move through each exercise continuously, no stopping:

1
Marching in Place
40 sec
2
Arm Circles
20 sec each way
3
Hip Circles
30 sec
4
Torso Twists
30 sec
5
Light Jumping Jacks
40 sec

Lift your knees comfortably to hip height while swinging your arms to begin elevating your heart rate. Move through large controlled arm circles, slow hip circles, and controlled torso twists to mobilize the joints and warm the core. By the end of the light jumping jacks, you should feel warm and your breathing should be noticeably deeper than at rest. You are now ready for the main circuit.

Phase 2: The Main Cardio Circuit (15 Minutes)

This circuit has six exercises. Each runs for 40 seconds of work followed by 20 seconds of rest before moving to the next movement. Complete the full circuit twice with a 60-second rest between rounds. This structure, known as interval training, is specifically designed to keep your heart rate elevated throughout the session.

01
High Knees
40 sec work

Stand with feet hip-width apart. Drive your right knee up toward your chest while pumping your left arm forward, then switch rapidly, left knee up, right arm forward, maintaining a quick, bouncy rhythm. This is not a jog, it is an intentionally fast and rhythmic movement that should leave you breathing heavily by the 20-second mark.

Modification: Perform slow marching with exaggerated high knee lifts if impact is a concern.

02
Squat to Lateral Step
40 sec work

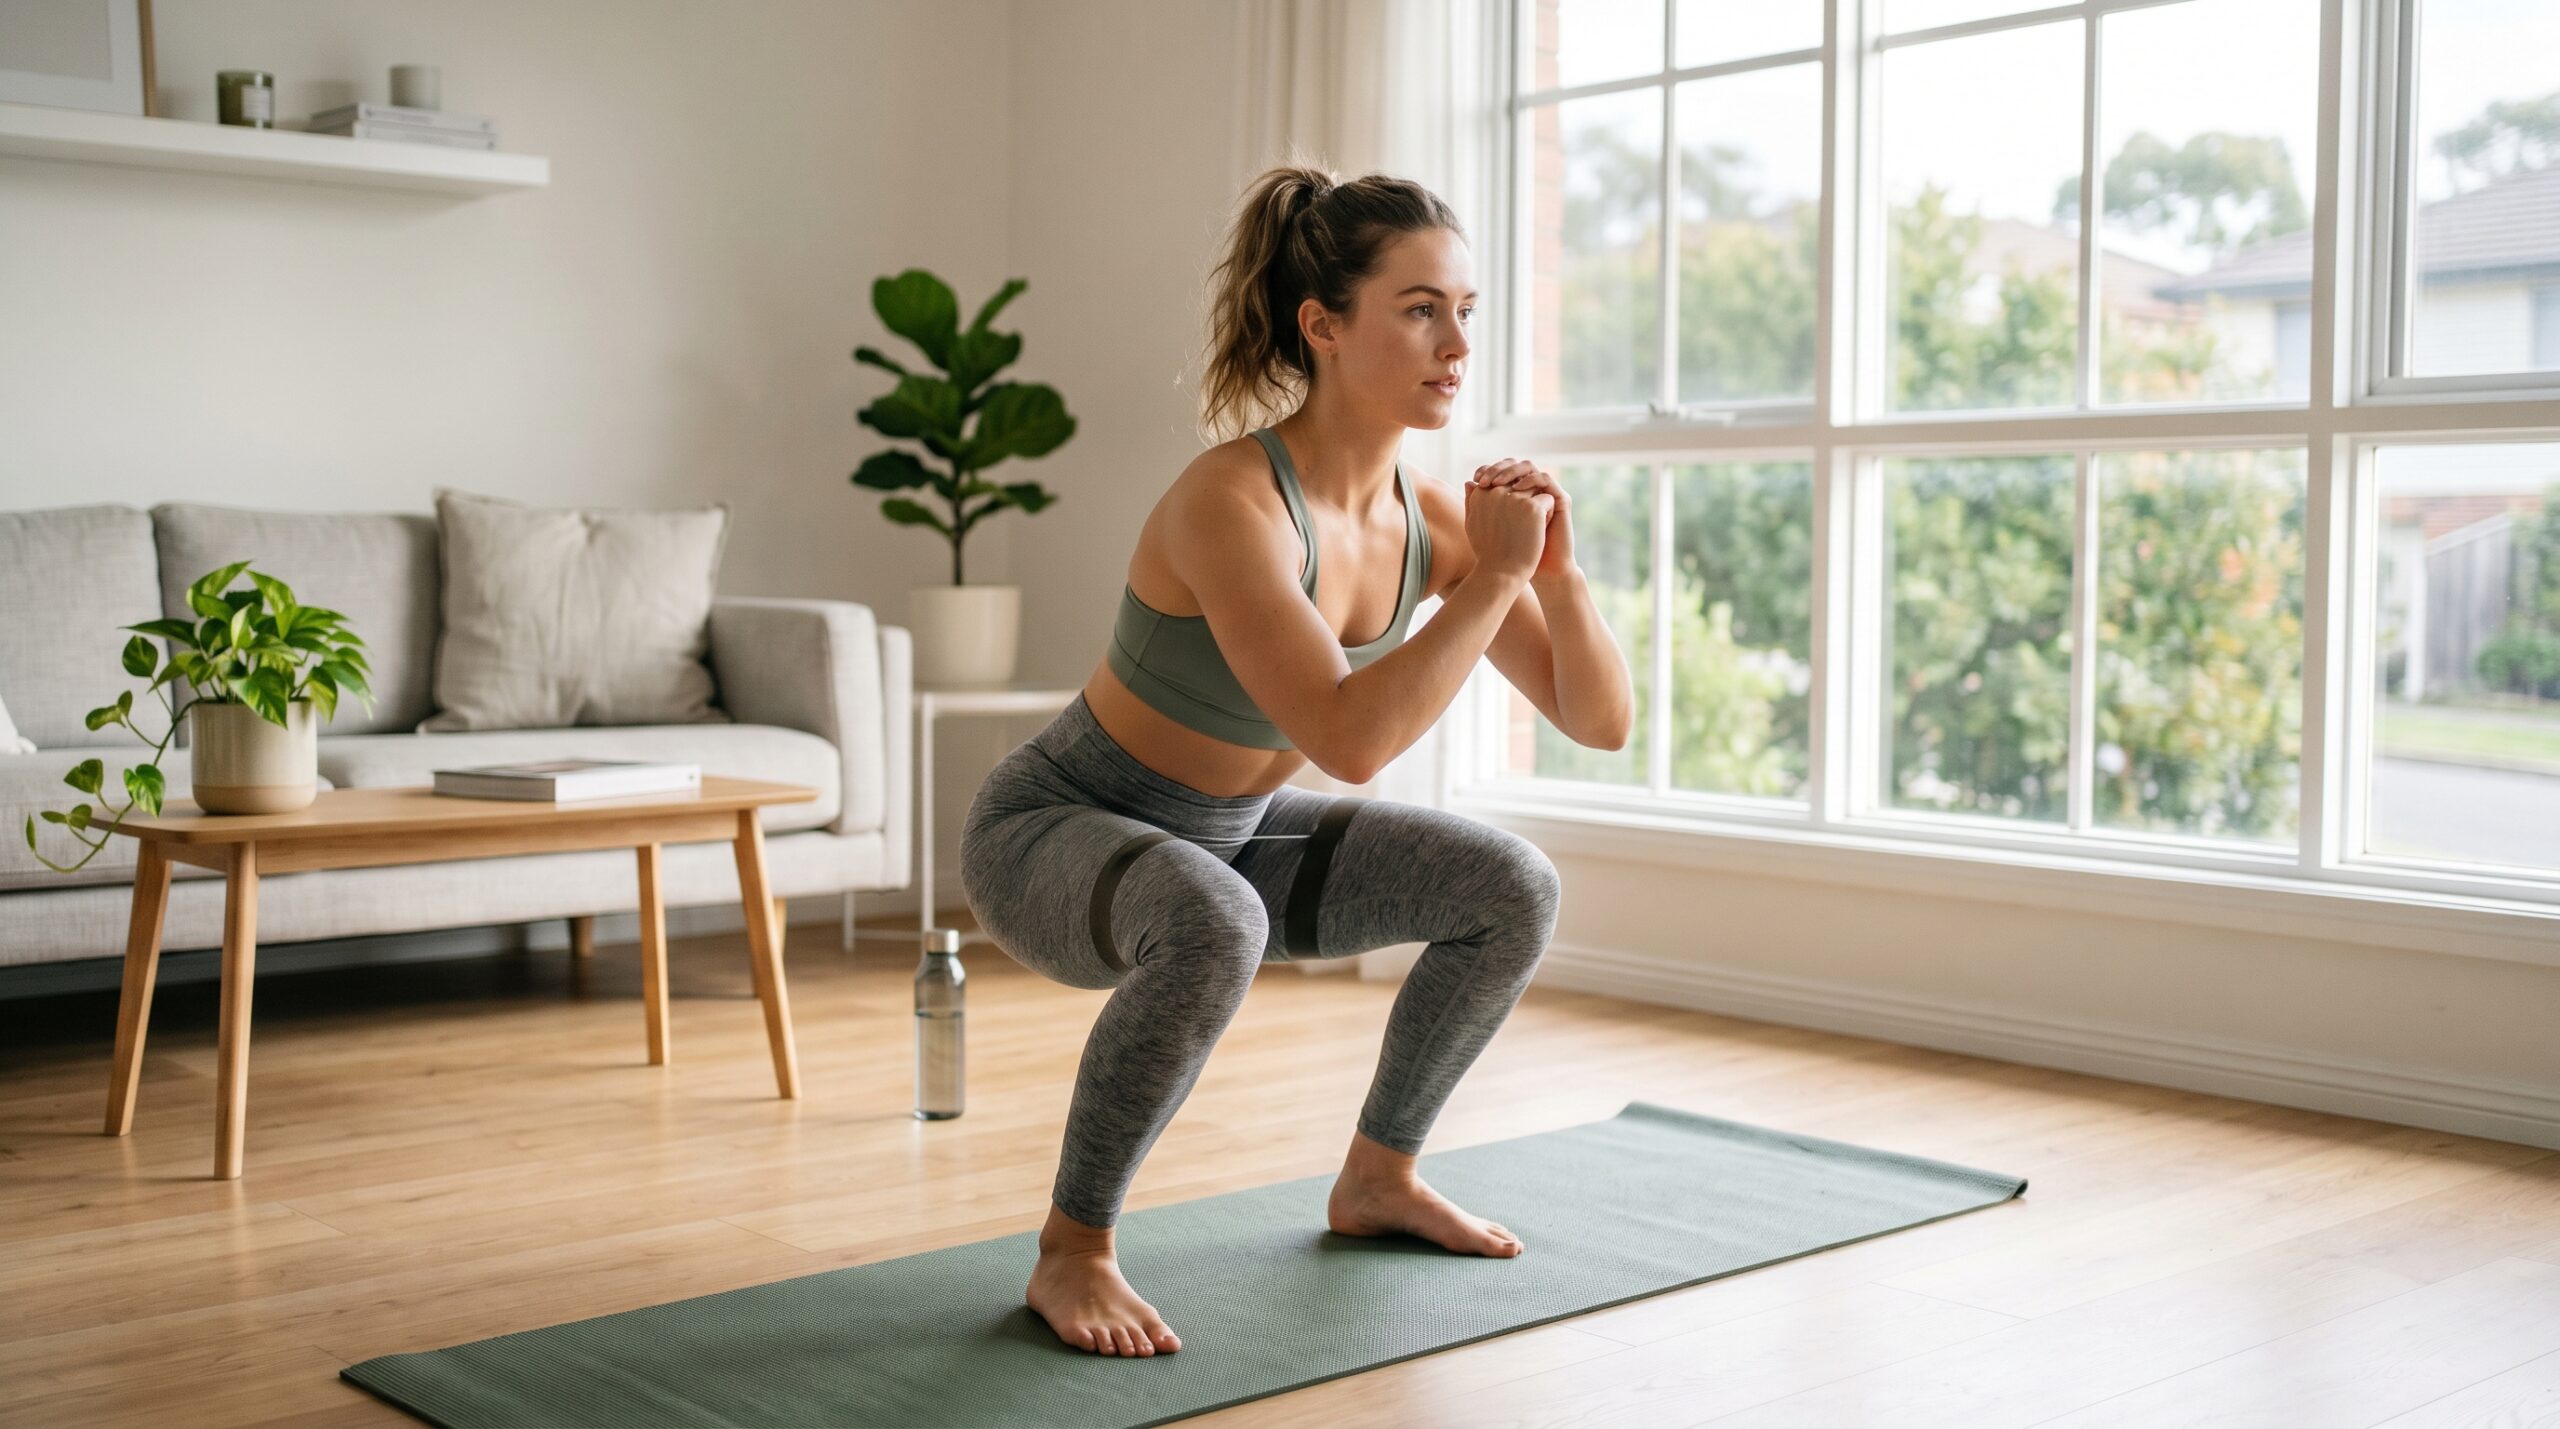
Stand with feet together. Step your right foot out wide into a squat, hold briefly at the bottom, then step your left foot to meet it and stand. Step back out to the right for 20 seconds, then switch direction. Your quadriceps, glutes and inner thigh muscles are all engaged throughout, with lower impact than jumping exercises.

03
Burpees
40 sec work

Stand tall. Place your hands on the floor, jump or step your feet back to a plank position, perform a push-up if you can, jump your feet back toward your hands, and explode upward into a jump with arms overhead. This is the most demanding exercise in the circuit, and the most rewarding, engaging every major muscle group simultaneously.

Modification: Remove the jump at the top and step back rather than jumping to the plank position.

04
Shadow Boxing
40 sec work

Stand in a comfortable stance, one foot slightly ahead of the other, hands loosely raised. Throw alternating punches, jabs, crosses, hooks, at a continuous pace, moving your feet slightly between combinations. Focus on rotating your torso with each punch rather than just moving your arms, this is what engages the obliques and generates real effort.

05
Alternating Reverse Lunges
40 sec work

Stand tall with feet together. Step your right foot back into a reverse lunge, lower your back knee toward the floor, then drive back up to standing. Immediately step your left foot back and repeat, alternating legs continuously. Keep your chest tall, your front knee above your ankle, and your core lightly engaged.

06
Jumping Jacks With Crossover Arms
40 sec work

Perform a standard jumping jack, feet out wide, arms up, but on the return bring your arms across your chest in a crossover rather than down to your sides. This serves as the circuit closer, keeping your heart rate elevated while being low enough in intensity to complete with consistent form after five preceding exercises.

Rest between rounds, 60 seconds: Walk slowly around your space, shake out your hands and legs, take deliberate slow breaths, and drink water. Do not sit down. After 60 seconds, begin round two with the same exercise order.

Phase 3: Cooldown (2 Minutes)

After the second round, bring your heart rate down gradually before stopping completely. A sudden stop after intense cardio can cause dizziness and discomfort.

1
Slow Walking
30 sec
2
Standing Quad Stretch
20 sec each side
3
Hamstring Stretch
30 sec
4
Chest Opener
20 sec
5
Deep Breathing
30 sec

Hinge forward at the hips with soft knees for the hamstring stretch, clasp your hands behind your back for the chest opener, and finish by inhaling for four counts and exhaling for six, allowing your heart rate to settle fully.

The Complete Workout at a Glance

PhaseContentDuration
Warm-UpMarching, arm circles, hip circles, torso twists, jumping jacks3 minutes
Round 1Six exercises, 40 sec work / 20 sec rest each6 minutes
RestSlow walking, water, breathing1 minute
Round 2Six exercises, 40 sec work / 20 sec rest each6 minutes
CooldownStretches, deep breathing2 minutes
Total18 to 20 minutes

How Often Should You Do This Workout

Three to four times per week is the ideal frequency for this cardio workout at home. This provides enough cardiovascular stimulus to improve fitness and burn fat meaningfully while allowing adequate recovery. On off days, lighter activity, a walk, stretching or a yoga session, keeps you active without adding cardiovascular stress.

As your fitness improves, progression is simple:

  • Increase work intervals from 40 to 45 seconds while keeping rest at 20 seconds
  • Add a third round for a 25 to 28 minute total session
  • Reduce the inter-round rest from 60 to 45 seconds
  • Increase the speed and intensity of each exercise rather than changing the structure

Why Consistency Beats Perfection Every Single Time

Many beginners approach home cardio with the expectation that every session needs to be perfect, maximum effort, full form throughout, no modifications. When reality falls short of that standard, they feel like the workout did not count.

It counts. A moderate effort performed four times a week produces far better results than a perfect effort performed once. That gradual progression, not perfection from day one, is what builds real, lasting cardiovascular fitness.

Your Living Room Cardio Quick Start Checklist

  • Clear a 2 by 2 meter space and set a timer
  • Never skip the 3-minute warm-up
  • Complete the 6-exercise circuit twice, 40 sec on / 20 sec off
  • Cooldown for 2 minutes before you stop completely
  • Train 3 to 4 times a week and progress gradually

Final Thoughts

You do not need a gym, a treadmill, or an hour of free time to get a genuinely effective cardio workout. You need your living room, 20 minutes, and the willingness to push yourself for short bursts of real effort.

This workout hits your heart, your lungs and your major muscle groups through six varied movements that prevent boredom and produce measurable results when practiced consistently. Three to four sessions per week, combined with sensible eating, is a formula that works, not eventually, but within weeks.

Set your timer. Clear a space. Start with the march. Everything else follows from there.
Best Bodyweight Exercises for Fat Loss

Best Bodyweight Exercises for Fat Loss

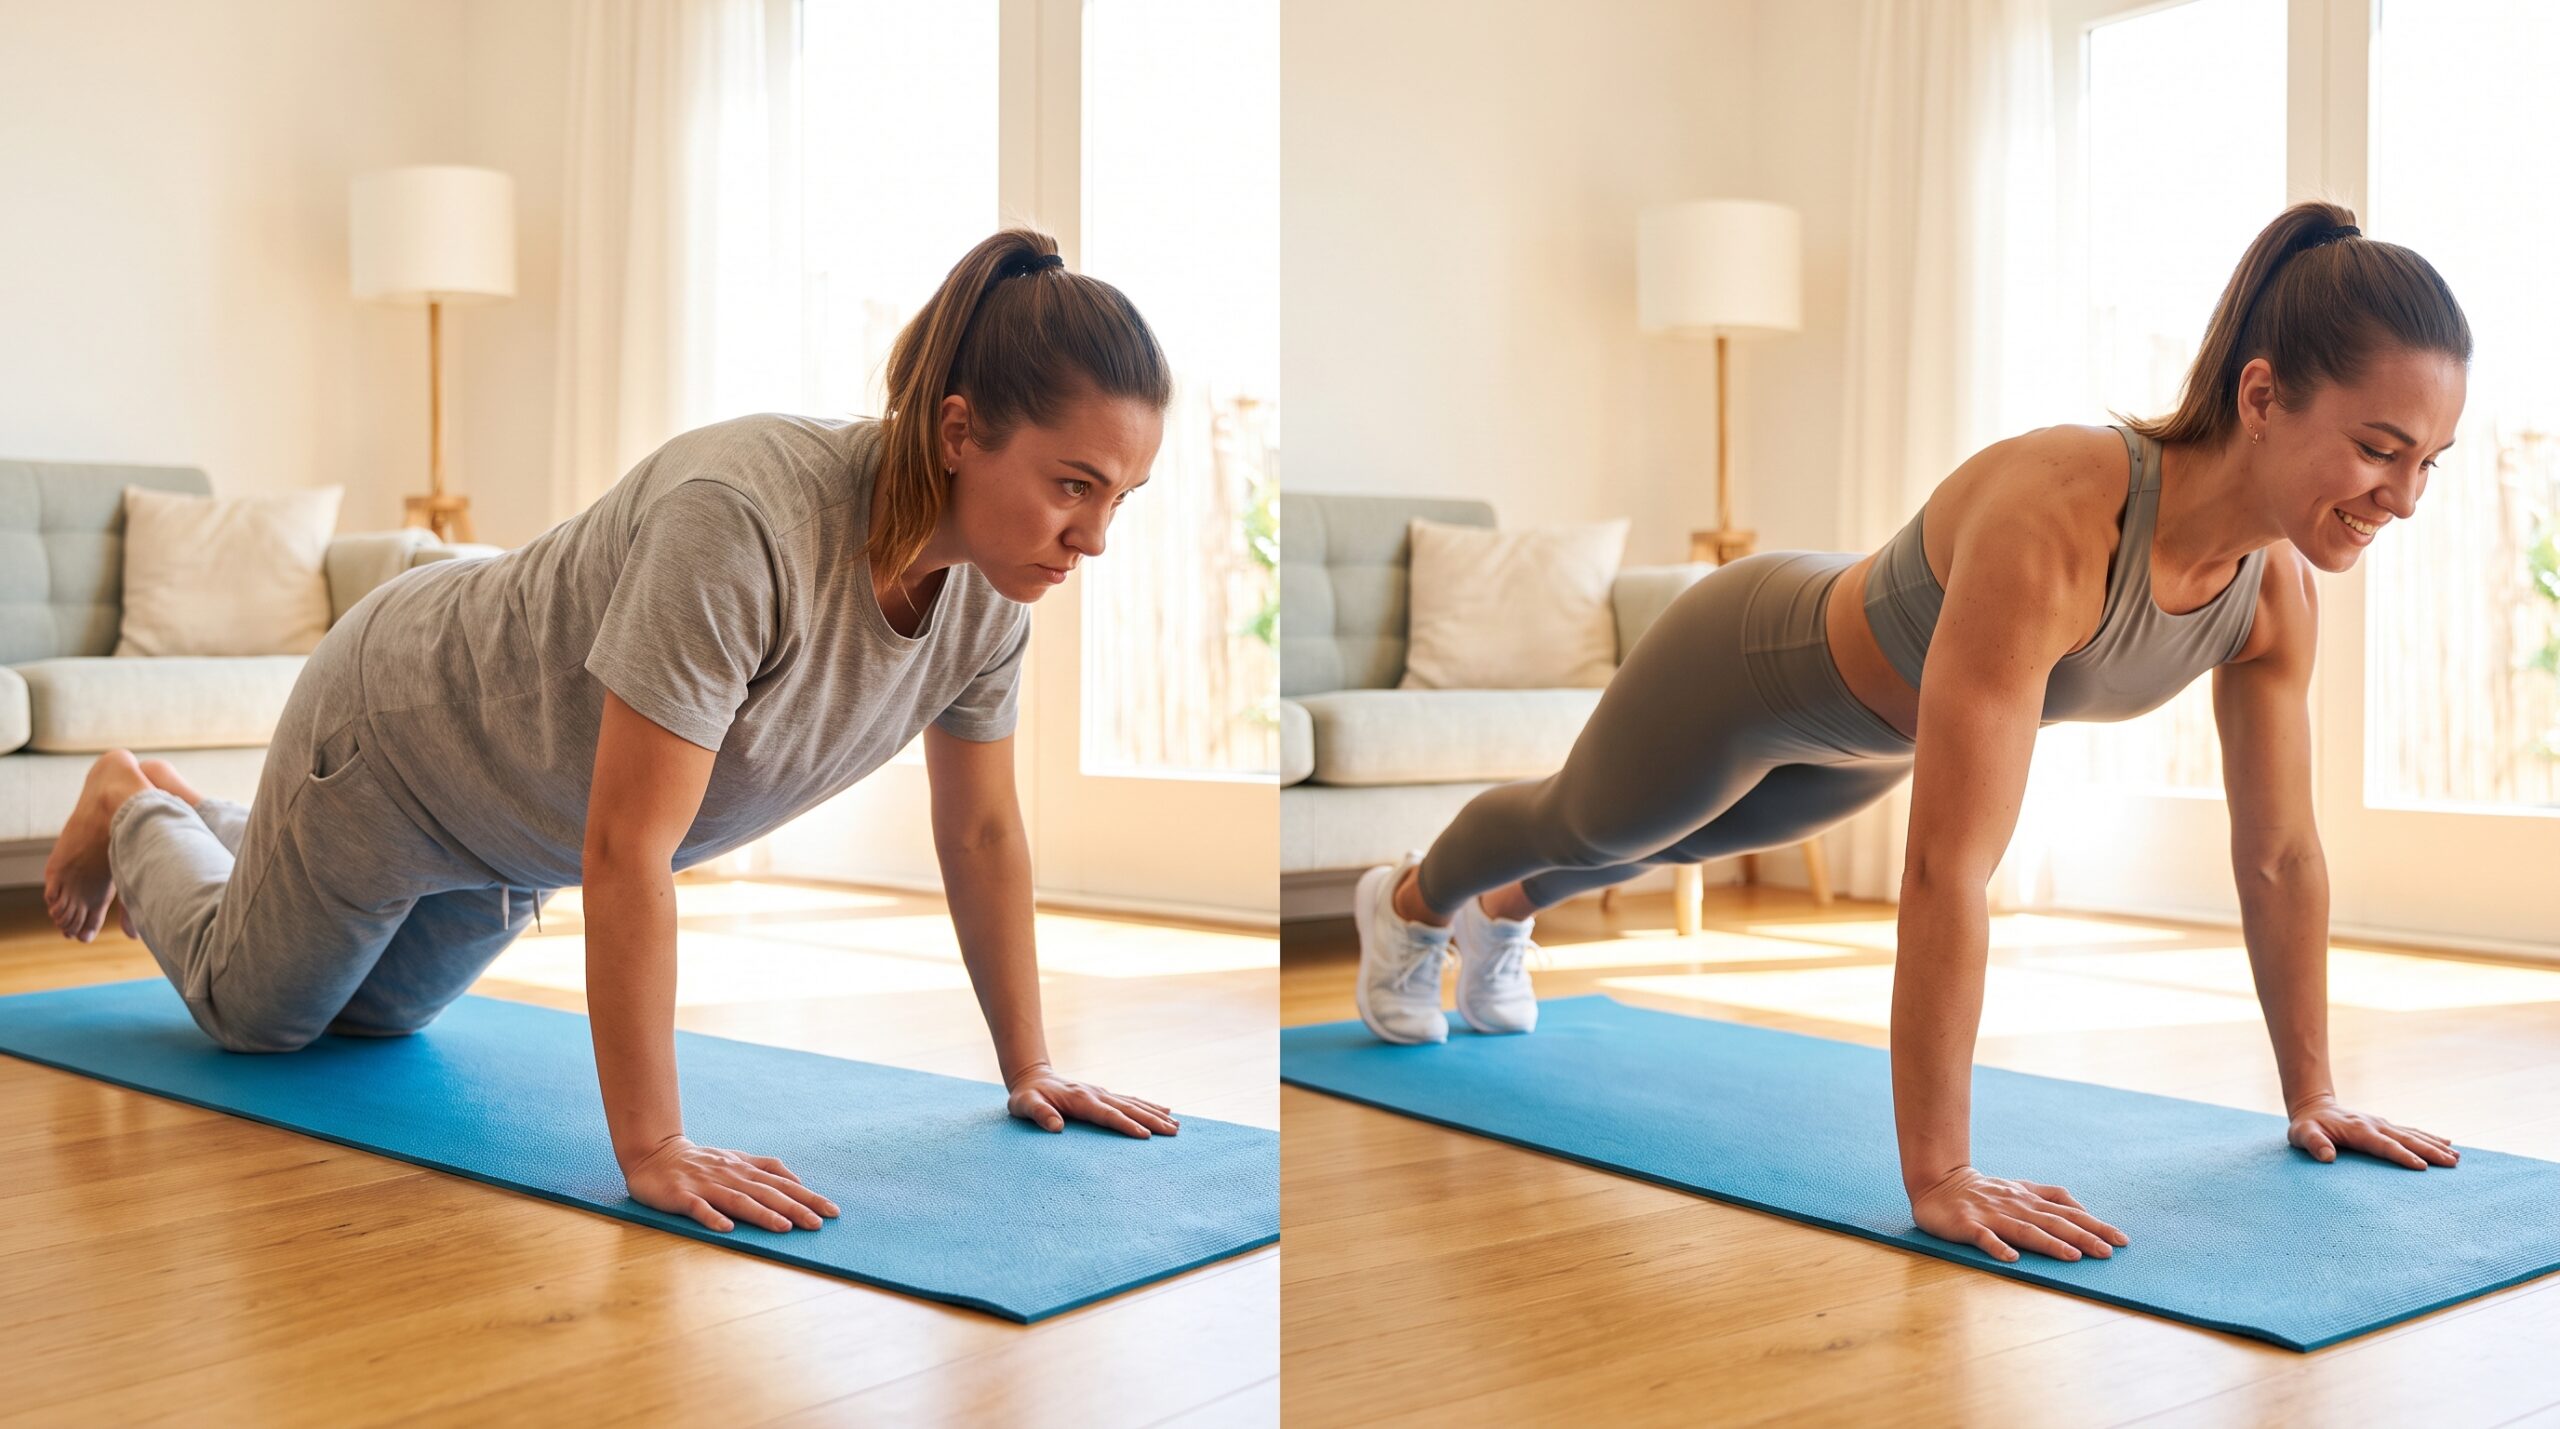
Woman performing a bodyweight push-up exercise at home on a yoga mat

You do not need a gym membership to lose fat. You do not need expensive equipment, a personal trainer, or a dedicated workout space. What you need is your own body, a few square feet of floor, and the right exercises done with enough consistency and intensity to actually produce results.

Done correctly, bodyweight exercises for fat loss are brutally effective. They challenge multiple muscle groups simultaneously, spike your heart rate, and create the kind of metabolic demand that keeps your body burning calories long after the workout ends. No barbells required. Here are the best ones, explained properly, not just listed.

Why Bodyweight Training Burns Fat So Effectively

The key is compound movement. Unlike isolation exercises, a bicep curl, a leg extension, bodyweight exercises almost always involve multiple muscle groups working together at the same time. A burpee works your legs, core, chest, shoulders and cardiovascular system simultaneously. That demands significantly more energy than any single muscle movement.

More muscle recruited means more calories burned, both during the exercise and afterward, through the elevated metabolic rate that follows intense effort. This post-exercise calorie burn, known as excess post-exercise oxygen consumption or EPOC, is particularly pronounced after high intensity bodyweight circuits.

You can make any bodyweight exercise harder or easier by adjusting the tempo, reducing rest, or combining exercises back to back. This keeps the training stimulus fresh and prevents the adaptation plateau that causes fat loss to stall.

The 7 Best Bodyweight Exercises

1
Burpees
QuadricepsHamstringsGlutesChestShouldersCoreCardio
30 to 45 sec work
15 to 20 sec rest, x4 to 6

If there is one bodyweight exercise that delivers the most fat-burning effect in the shortest time, the burpee is the strongest candidate. Start standing. Drop your hands to the floor, jump or step your feet back into a plank position, perform a push-up, jump your feet back toward your hands, and explode upward into a jump with arms overhead. That is one rep.

The reason burpees are so effective for fat loss is the full body demand they create. Your lower body powers the jumps, your upper body handles the push-up, and your core stabilizes the transition between positions. No other single exercise hits this many systems at once.

Beginner modification

Remove the jump and the push-up. Step back instead of jumping, hold the plank briefly, then step forward and stand. Build toward the full movement progressively.

2
Jump Squats
QuadricepsGlutesHamstringsCalvesCore
3 to 4 sets of 15 to 20
30 to 40 sec rest

The squat is already one of the best exercises in existence. Add an explosive jump and it becomes a fat-burning machine. Stand with feet shoulder-width apart. Lower into a squat until your thighs are roughly parallel to the floor, then drive through your heels and explode upward into a jump. Land softly with knees slightly bent and immediately lower into the next squat without pausing.

The explosive component recruits fast-twitch muscle fibres, the ones that generate the most power and demand the most energy, and elevates your heart rate rapidly. The continuous transition from squat to jump to squat creates a sustained cardiovascular demand that a regular squat simply does not match.

Knee-friendly modification

Remove the jump and increase the squat tempo instead, taking 3 full seconds to lower down and 1 second to stand. The slower eccentric phase significantly increases difficulty without impact.

3
Push-Up Variations
ChestFront DeltsTricepsSerratusCore
10 plus 10 reps, x3
30 sec rest

The standard push-up is already a solid exercise, but for fat loss specifically, push-up variations that increase intensity are where the real value lies. Wide-grip push-ups place greater emphasis on the chest and increase range of motion. Close-grip push-ups shift more demand to the triceps and create a greater core stability challenge. Explosive push-ups, where your hands leave the floor briefly, recruit fast-twitch fibres and dramatically increase cardiovascular demand.

For a fat-loss circuit, combine two variations back to back without rest between them. Do 10 standard push-ups immediately followed by 10 close-grip push-ups, rest 30 seconds, and repeat three times.

Beginner modification

Perform with knees on the floor to reduce the load while your upper body strength builds.

4
Mountain Climbers
AbsObliquesHip FlexorsShouldersQuads
40 to 45 sec work
15 to 20 sec rest

Mountain climbers are one of the most efficient fat-loss exercises because they function simultaneously as a core strengthener and a cardiovascular challenge. Start in a straight-arm plank with hands directly under shoulders. Drive one knee toward your chest, then rapidly switch legs in a running motion, keeping your hips low and your core firmly braced throughout.

At maximum speed, mountain climbers produce a cardiovascular response comparable to sprinting, while also building significant core strength and hip flexor endurance. Include them in circuits between strength-focused movements like squats and push-ups to keep your heart rate elevated throughout the session.

5
Reverse Lunges With Knee Drive
QuadricepsGlutesHamstringsHip FlexorsBalance
12 to 15 reps per leg, x3

A standard reverse lunge is already an excellent lower body exercise. Adding a knee drive at the top transforms it into a balance, strength and conditioning movement that burns significantly more calories per rep. Step one foot back into a reverse lunge, lowering your back knee toward the floor. As you drive back up through your front heel, drive your back knee forward and upward toward your chest in a controlled motion before stepping back into the next lunge.

This addition challenges your balance, engages your core to prevent rotation, activates your hip flexors in the drive phase, and briefly elevates your heart rate with each rep.

6
Plank to Downward Dog
AbsShouldersLatsHamstringsCalves
3 sets of 12 to 15
30 sec rest

This movement is less commonly included in fat-loss routines, but it deserves a place in every bodyweight program. Start in a forearm plank position. Press up onto your hands and immediately push your hips up and back into a downward dog position, forming an inverted V shape with your body, heels pressing toward the floor. Hold briefly, then return to the plank. That is one rep.

The constant transition forces your core, shoulders and posterior chain to work dynamically rather than statically. It also stretches and strengthens simultaneously, your hamstrings and calves lengthen in the downward dog phase while your shoulders and core stay under load throughout.

7
High Knees
Hip FlexorsQuadricepsHamstringsCalvesCardio
30 to 40 sec bursts

High knees are essentially running on the spot, but with exaggerated knee lift and deliberate arm drive, they become significantly more demanding than they appear. Stand with feet hip-width apart. Drive your right knee up toward your chest while simultaneously pumping your left arm forward, then switch rapidly, left knee up, right arm forward, maintaining a quick, continuous rhythm.

High knees are ideal as a warm-up movement, as a finisher at the end of a circuit, or as an active recovery movement between more intense exercises.

How to Build a Fat-Loss Bodyweight Circuit

Individual exercises are valuable, but for maximum fat-burning effect, combine them into circuits, sequences of exercises performed back to back with minimal rest between movements and a short rest between rounds. Here is a sample circuit using the exercises above:

Sample Fat-Loss Circuit
Repeat the full round 3 to 4 times
  • 35s
    Burpees
    Work interval
  • 15s
    Rest
    Recovery
  • 40s
    Jump Squats
    Work interval
  • 15s
    Rest
    Recovery
  • 40s
    Mountain Climbers
    Work interval
  • 15s
    Rest
    Recovery
  • 35s
    Push-Up Variation
    Work interval
  • 15s
    Rest
    Recovery
  • 40s
    High Knees
    Work interval
  • 60 to
    90s
    Rest Before Next Round
    Longer recovery

This circuit challenges your cardiovascular system, works every major muscle group, and creates the kind of sustained metabolic demand that drives meaningful fat loss over consistent weeks of training.

How Often Should You Train

Three to four sessions per week is the ideal frequency for most people pursuing fat loss with bodyweight training. This provides enough training stimulus to drive adaptation and calorie expenditure while allowing adequate recovery between sessions. Training every day without rest significantly increases injury risk, slows recovery, and often produces diminishing returns rather than faster results.

On rest days, light movement such as walking, stretching or gentle yoga keeps circulation and mobility going without interfering with recovery.

Progression: How to Keep Getting Results

Bodyweight exercises for fat loss stop producing results when they stop being challenging. Your body adapts to familiar demands remarkably quickly, particularly in the first few weeks of training. Progress consistently by:

  • Reducing rest periods between exercises and rounds
  • Increasing work intervals from 35 seconds to 40, then 45 seconds
  • Adding a third or fourth round to sessions that previously used two
  • Slowing the tempo of strength movements to increase time under tension
  • Combining exercises, for example adding a push-up at the bottom of each burpee

Your Bodyweight Fat-Loss Quick Start Checklist

  • Pick 4 to 5 exercises and build them into a circuit
  • Train 3 to 4 times a week with rest days between
  • Keep work intervals high intensity, rest intervals short
  • Progress weekly by reducing rest or adding rounds
  • Use the modifications if a movement feels too advanced at first

Final Thoughts

The best bodyweight exercises for fat loss are not the flashiest or the most complicated. They are the ones that demand the most from your body, engaging multiple muscle groups, spiking your heart rate, and creating a metabolic response that extends beyond the workout itself.

Burpees, jump squats, mountain climbers, explosive push-ups, reverse lunges, these are not beginner exercises to graduate away from. They are legitimate tools that can be made as easy or as challenging as your current fitness level demands, and they produce real, measurable fat loss when used consistently.

No gym. No excuses. Just effort, consistency and results.

10-Minute Morning Stretch Routine to Start Your Day Right

10-Minute Morning Stretch Routine to Start Your Day Right

Woman doing a morning stretch routine outdoors at sunrise

You wake up, roll over, and immediately feel it: that stiffness in your lower back, the tightness across your shoulders, the general feeling that your body needs another three hours of sleep before it is ready to function. And yet, life does not wait. Within minutes you are checking your phone, rushing to the kitchen, and launching into a day your body was not properly prepared for.

Here is what most people do not realize: a 10 minute morning stretch routine can completely change how your body feels from the first hour of the day. Not eventually. Immediately. No gym required, no equipment needed, just ten minutes, a small patch of floor, and the stretches in this guide.

Why Your Body Is So Stiff Every Morning

Before we get to the routine itself, it helps to understand why mornings feel so rough in the first place. When you sleep, your body stays relatively still for 6 to 9 hours. During that time, circulation slows, your muscles and connective tissues lose some of their warmth and elasticity, and synovial fluid, the natural lubricant inside your joints, settles and thickens slightly. This is why that first movement of the morning often comes with creaks, stiffness, and a general resistance to moving quickly.

Your fascia, the connective tissue that wraps around every muscle in your body, also tightens during periods of inactivity. Fascia is like plastic wrap. When it is warm and worked through regular movement, it stays pliable. When it is cold and still, it stiffens. That morning stiffness you feel is not weakness. It is physics.

A morning stretch routine works directly against all of this. It warms the muscles, lubricates the joints, stretches the fascia, and gets blood moving to tissues that have been relatively deprived of circulation all night.

What a Morning Stretch Routine Actually Does for Your Body

The benefits go well beyond just feeling less stiff. Here is what you are actually gaining:

  • Improved flexibility over time. Daily stretching gradually lengthens the muscle fibres and increases range of motion in your joints, particularly the hip flexors, hamstrings and thoracic spine
  • Reduced chronic pain. Tight muscles pull unevenly on joints and the spine. Consistent stretching corrects these imbalances, reducing the lower back pain and neck tension most desk workers accept as normal
  • Better posture throughout the day. Stretches that target the chest, hip flexors and thoracic spine counteract the forward rounded posture that develops from sitting
  • Improved mental clarity. Gentle movement in the morning increases blood flow to the brain, helping you feel more alert and focused faster
  • Lower cortisol levels. Slow, deliberate stretching activates the parasympathetic nervous system, reducing the stress hormone that naturally peaks in the early morning

How Many Minutes Should It Take

Ten minutes is the sweet spot, especially for beginners. It is long enough to meaningfully address every major muscle group and joint that needs attention after sleep. It is short enough that there is no genuine excuse to skip it. You can do this before breakfast, before a shower, even before you have fully woken up.

As you become more consistent and your body becomes more flexible, you can extend the routine to 15 to 20 minutes. But start with ten. Consistency matters far more than duration.

The 10-Minute Morning Stretch Routine

This routine moves through eight stretches in a logical sequence, starting on the floor and progressively moving to standing. Hold each stretch for 30 to 45 seconds, breathe slowly and continuously, and never stretch to the point of sharp pain. You are aiming for a gentle to moderate pulling sensation that eases slightly as you hold.

01

Knees-to-Chest

Targets: lumbar erector spinae, sacroiliac joint, glutes

30 sec

Lie on your back and bring both knees toward your chest, wrapping your arms around them. Rock gently side to side, then hold firmly for 30 seconds. This gently decompresses the lower back and releases the sacroiliac joint, a common source of morning stiffness.

02

Supine Spinal Twist

Targets: obliques, erector spinae, piriformis

30 sec each side

Arms out in a T shape, bring your right knee to your chest and let it fall across your body to the left. Turn your head gently right. Hold 30 seconds, then switch. Releases tension along the entire spine and opens the chest.

03

Cat-Cow Spinal Mobilization

Targets: erector spinae, rectus abdominis, multifidus

8 to 10 cycles

On all fours, inhale as your belly drops and you look up (cow), exhale as you round your spine and tuck your chin (cat). Move slowly through 8 to 10 cycles. This mobilizes every vertebra from tailbone to neck.

04

Child's Pose

Targets: lats, thoracic erector spinae, hip flexors

45 to 60 sec

Push your hips back toward your heels, arms extended long, forehead resting down. Breathe deeply and let gravity release your lower back and hips. If you only do one stretch every morning, make it this one.

05

Low Lunge Hip Flexor

Targets: iliopsoas, rectus femoris, anterior hip capsule

30 sec each side

Step your right foot forward, lower your left knee down, and push your hips forward and down. The most important stretch for anyone who sits for long periods, since it reverses hip flexor tightness that pulls on the lower back.

06

Seated Hamstring Stretch

Targets: hamstrings, gastrocnemius

35 to 40 sec

Sit with both legs extended, hinge forward from the hips (not the spine) until you feel a stretch along the back of both thighs. Tight hamstrings pull the pelvis into a posterior tilt, flattening your lower back curve.

07

Chest Opener

Targets: pectoralis major and minor, anterior deltoids

30 sec

Stand and clasp your hands behind your back, straighten your arms and lift them slightly while opening your chest. Counteracts the forward shoulder pull from hours of curled sleeping posture.

08

Neck and Upper Trap Stretch

Targets: upper trapezius, sternocleidomastoid, levator scapulae

25 to 30 sec each side

Drop your right ear toward your right shoulder without shrugging. For a deeper stretch, place your right hand gently on the left side of your head and let its weight deepen the stretch.

Your Routine at a Glance

StretchTarget AreaHold Time
Knees-to-ChestLower back, glutes30 sec
Supine Spinal TwistSpine, hips30 sec each side
Cat-CowFull spine, core8 to 10 slow cycles
Child's PoseBack, hips, lats45 to 60 sec
Low Lunge Hip FlexorHip flexors, quads30 sec each side
Seated Hamstring StretchHamstrings, calves35 to 40 sec
Chest OpenerChest, shoulders30 sec
Neck and Upper Trap StretchNeck, upper back25 to 30 sec each side

Move through this sequence slowly and without rushing. The entire routine fits comfortably within 10 minutes.

When Is the Best Time to Stretch

Right after waking up is ideal, before coffee, before your phone, before anything else. Your body is in a naturally receptive state immediately after sleep. While your muscles are initially stiff, they respond quickly to gentle movement, and starting early means you carry the benefits, looser joints, better posture, a calmer nervous system, into the entire rest of your morning.

If mornings are truly impossible, the second best time is mid morning before you have been sitting at a desk for hours. What matters most is consistency. Daily practice for two weeks produces genuinely noticeable changes in how your body feels and moves.

Tips to Make This a Daily Habit

Starting is the easy part. Showing up every morning is the real challenge. A few things that help:

  • Keep a yoga mat unrolled beside your bed. The visual cue removes friction and makes it easy to start without thinking
  • Do it before looking at your phone. Checking notifications first thing activates mental stress before your body is ready
  • Pair it with something you enjoy: calm music, a podcast, or simply the quiet of the morning before anyone else is awake
  • Start with just 5 minutes if 10 feels like too much. Half the routine is infinitely better than none of it
  • Track your streak. A simple checkmark on a calendar creates a visual chain you will not want to break

Your Morning Stretch Quick Start Checklist

  • Start right after waking up, before coffee or your phone
  • Move through all 8 stretches, floor to standing
  • Hold each stretch 30 to 45 seconds and breathe slowly
  • Never push into sharp pain, ease into each stretch
  • Do it daily for two weeks to feel the real difference

Final Thoughts

A 10 minute morning stretch routine will not just fix your stiffness. Over time, it improves your posture, reduces chronic pain, sharpens your focus, and sets a genuinely positive tone for the day, all before you have had your first cup of tea.

The stretches in this guide target every area that matters: your lumbar spine, thoracic vertebrae, hip flexors, hamstrings, chest and neck. They are sequenced to warm your body gradually and feel good rather than painful.

Ten minutes. Eight stretches. Every morning. That is one of the smallest investments you can make in your body, and one of the highest returns you will get.

Full Body Workout at Home for Beginners (No Gym)

Full Body Workout at Home for Beginners (No Gym) – HealthFitnessDairy

Full Body Workout at Home for Beginners (No Gym)

Full Body Workout at Home for Beginners

The gym can feel like the most intimidating place on earth when you are just starting out. Everyone seems to know exactly what they are doing. The machines look like they need a manual. And the membership fees alone are enough to make you turn around before you have even signed up.

Here is what nobody tells you early enough: you do not need any of it. A full body workout at home is one of the most effective ways to build real strength, burn fat, and improve your fitness, with no equipment, no gym, and no experience required.

Why a Full Body Workout at Home Works Better Than You Think

When you are new to fitness, the temptation is to split things up, legs one day, arms the next, back on Friday. That is how experienced bodybuilders train. For beginners, it is actually overkill.

Works Every Muscle Group

Even if life gets busy and you miss a day, you have not completely neglected a muscle group for the entire week.

Burns More Calories

More total muscle mass is being challenged at once, which means more calories burned per session compared to split training.

Better Coordination

Full body training develops coordination between muscle groups, making everyday movement feel easier and dramatically reducing injury risk.

Time Efficient

Three sessions a week is all you need to build noticeable strength and endurance as a beginner. Not five. Not seven. Three.

How Many Days a Week Should You Train?

Three days a week is the ideal frequency for a beginner following a full body home workout routine. Strength is built during recovery, not during the workout itself. Skip the recovery days and you interrupt that process.

Monday
Full Body Workout
Tuesday
Rest or Light Walk
Wednesday
Full Body Workout
Thursday
Rest or Stretching
Friday
Full Body Workout
Weekend
Active Rest: Walking, Yoga

Warm Up Before Every Session

Jumping into a bodyweight training session with cold muscles is the fastest way to pull something and end up on the couch for a week. Two minutes of warm-up changes everything.

  • Arm circles: 20 seconds forward, 20 seconds backward
  • Leg swings: hold a wall for balance, swing each leg forward and back 10 times
  • Hip circles: hands on hips, slow large circles, 10 each direction
  • High knees marching: lift knees comfortably while walking on the spot, 30 seconds
  • Torso twists: arms extended, gently rotate left and right, 20 seconds

The Full Body Home Workout (7 Exercises)

Do each exercise for the specified reps. Rest 30 to 45 seconds between exercises. Complete 2 rounds in week one, and build to 3 rounds from week two onwards.

01

Bodyweight Squats

Muscles: Quadriceps, Glutes, Hamstrings, Core
15 reps

Stand with feet shoulder-width apart, toes pointed slightly outward. Lower yourself as though sitting back into a chair, chest up, knees tracking over your toes, weight through your heels. Once your thighs are roughly parallel to the floor, drive back up through your heels to standing. The squat directly targets the two largest muscle groups in the body, which means it burns significant calories while building real lower body strength.

Common mistake: Do not let your heels lift or your chest collapse forward. If depth is limited, widen your stance slightly and point your toes out a little more.
02

Push-Ups

Muscles: Chest, Front Shoulders, Triceps, Core
10 to 12 reps (knees modification available)

Place your hands slightly wider than shoulder-width, arms straight, body in a rigid line from head to heels. Lower your chest toward the floor, then press back up. The push-up develops the chest, front shoulders, and triceps simultaneously while also demanding significant core engagement. If full push-ups are not accessible yet, the knee-modified version is equally valid.

Common mistake: Do not let your hips sag toward the floor or pike upward. Both positions remove the work from your chest and strain your lower back.
03

Glute Bridges

Muscles: Glutes, Hamstrings, Lower Back, Core
15 reps

Lie on your back with knees bent and feet flat on the floor, hip-width apart. Push through your heels and drive your hips toward the ceiling, squeezing your glutes firmly at the top. Lower slowly and with control. This is particularly important for anyone who spends long hours sitting, as prolonged sitting progressively weakens the glutes and causes lower back pain that plagues so many desk workers.

Common mistake: Do not rush the lowering phase. The slow, controlled descent builds as much strength as the lift itself.
04

Reverse Lunges

Muscles: Quadriceps, Glutes, Hamstrings, Stabilizers
10 reps each leg

Stand tall with feet together. Step one foot backward and lower your back knee toward the floor, keeping your front shin vertical and your front knee above your ankle. Drive back up through your front heel to return to standing. Alternate legs. The reverse lunge places significantly less force on the knee joint than a traditional forward lunge, making it the ideal choice for beginners.

Common mistake: Do not let your front knee cave inward or shoot past your toes. Keep your chest tall and your core lightly braced throughout the movement.
05

Plank Hold

Muscles: Core, Shoulders, Glutes
Hold 25 to 30 seconds

Get into a push-up position, then lower onto your forearms. Elbows directly under your shoulders. Hold your body in a straight line with no sagging hips and no raised backside. Look at the floor, not forward. The plank is the most effective core exercise in any no-equipment workout because it trains the core under real functional load, resisting gravity rather than just crunching against it.

Common mistake: Holding your breath. Breathe slowly and steadily throughout. Breath-holding creates unnecessary tension and makes the hold feel far harder than it needs to.
06

Superman Hold

Muscles: Lower Back, Glutes, Upper Back, Rear Shoulders
12 reps

Lie face down on the floor, arms extended in front of you. Simultaneously lift your arms, chest, and legs off the ground, squeezing your glutes and the muscles between your shoulder blades at the top. Hold for 2 to 3 seconds, then lower with control. This directly strengthens the muscles along your spine, which are almost universally underdeveloped in people who spend time sitting.

Common mistake: Do not jerk upward or use momentum. The movement should be slow and deliberate, with a genuine squeeze held at the top.
07

Mountain Climbers

Muscles: Core, Hip Flexors, Shoulders, Cardio
30 seconds

Start in a plank position on your hands. Drive one knee toward your chest, then rapidly switch legs in a running motion. Keep your hips low and your core braced. Mountain climbers end the circuit with both a core challenge and a significant cardiovascular spike, ensuring this bodyweight training session delivers both strength and conditioning benefits in a single movement.

Common mistake: Letting your hips rise as you fatigue. When form breaks down, slow the tempo rather than sacrificing technique.

Complete Workout at a Glance

ExerciseReps / TimeRest
Bodyweight Squats15 reps30 to 45 sec
Push-Ups10 to 12 reps30 to 45 sec
Glute Bridges15 reps30 to 45 sec
Reverse Lunges10 each leg30 to 45 sec
Plank Hold25 to 30 seconds30 to 45 sec
Superman Hold12 reps30 to 45 sec
Mountain Climbers30 seconds60 to 90 sec

Total session time: approximately 25 to 35 minutes including warm-up and cooldown.

How to Progress Week by Week

Weeks 1 to 2

2 rounds, focus entirely on learning correct form for each movement. Do not rush.

Weeks 3 to 4

Add a third round, maintain the same reps. Your body is adapting and getting stronger.

Week 5 Onward

Increase rep targets, reduce rest periods from 45 to 30 seconds, or slow the tempo significantly.

The Key Principle

Progressive overload: consistently making the workout slightly harder over time is the single most important principle in training.

Common Beginner Mistakes to Avoid

  • Skipping rest days

    More sessions per week does not mean faster results. Recovery is when adaptation happens. Honour your rest days.

  • Rushing through reps to finish faster

    Controlled, deliberate movement with full range of motion builds far more strength than sloppy, fast repetitions. Slow down.

  • Giving up when it gets uncomfortable

    Muscular discomfort during a workout is normal. Sharp joint pain is different and is the signal to stop.

  • Expecting visible results in one week

    Real strength changes take 4 to 6 weeks of consistent training to become noticeable. The internal changes, better energy and stronger core, happen within the first two weeks.

Final Thoughts

You do not need a gym, expensive equipment, or hours of free time to build a stronger body. This full body workout at home covers every major muscle group, uses nothing but your bodyweight, and takes under 35 minutes from warm-up to cooldown.

Three sessions a week. Rest days in between. A little more effort each week than the week before.

That is the entire formula for a beginner home exercise routine that actually works. Start today and in six weeks, you will not recognize what your body is capable of.

15-Minute Home HIIT Workout (No Equipment)

15-Minute Home HIIT Workout (No Equipment) – Health Fitness Dairy

15-Minute Home HIIT Workout (No Equipment)

15 Minute Home HIIT Workout No Equipment

You've got 15 minutes. Maybe it's before the kids wake up. Maybe it's a gap between Zoom calls. Maybe it's late at night and the gym closed an hour ago. Whatever the reason, you don't have time for a full workout but you still want results.

This is exactly where HIIT comes in. High-Intensity Interval Training isn't just a fitness buzzword. It's one of the most efficient, research-backed ways to burn calories, improve cardiovascular fitness, and build strength, all without a single piece of equipment.

What Makes HIIT So Effective

HIIT alternates between short bursts of intense effort and brief recovery periods. Instead of jogging at a steady pace for 45 minutes, you might sprint hard for 30 seconds, then rest for 15, and repeat. Three reasons why this works so well:

Burns Calories After You Stop

HIIT triggers excess post-exercise oxygen consumption (EPOC), meaning your body keeps burning calories at an elevated rate for hours after your workout ends as it recovers. Steady-state cardio doesn't produce nearly the same effect.

Incredibly Time-Efficient

Studies comparing HIIT to longer moderate-intensity workouts found similar or sometimes superior improvements in cardiovascular fitness and fat loss, in a fraction of the time.

Strength and Cardio Together

Bodyweight HIIT moves like squat jumps and mountain climbers challenge your muscles while also spiking your heart rate, giving you two benefits in one session.

Zero Equipment Needed

No dumbbells, no gym, no machine. Just you, your bodyweight, and a floor. That means no excuses and no monthly membership fee.

Is HIIT Right for Beginners?

Yes, with one important note: intensity is relative. HIIT doesn't mean pushing yourself like an Olympic athlete. It means working as hard as you can relative to your current fitness level.

If you're new to exercise, your version of "high intensity" might be a fast-paced march instead of a sprint. That's completely fine. The principle of alternating hard effort with recovery still applies and still works. If you have joint issues, heart conditions, or are returning from injury, check with a doctor first.

Warm Up First: Don't Skip This

HIIT puts your body under real stress quickly. Jumping into it cold increases your risk of strain. Spend two minutes on this warm-up before you start:

  • Marching in place: 30 seconds
  • Arm circles: 20 seconds each direction
  • Bodyweight squats (slow, controlled): 30 seconds
  • Standing torso twists: 20 seconds
  • Light jumping jacks: 30 seconds

This raises your heart rate gradually and prepares your joints and muscles for the intensity ahead.

The 15-Minute HIIT Workout

Here's the structure: 40 seconds of work, followed by 20 seconds of rest, moving through six exercises. Complete the full circuit twice and you'll land right around 15 minutes including your warm-up.

Push hard during the work intervals as that's the entire point of HIIT. The rest periods are short on purpose; they're meant to be just enough to catch your breath, not fully recover.

01

Jumping Jacks

Full Body

A classic for a reason. Jumping jacks elevate your heart rate fast and work your entire body. Keep your knees slightly soft on landing. For a low-impact version, step one foot out to the side while raising your arms, then alternate.

02

Bodyweight Squats (Fast)

Lower Body

Lower into a squat, then drive back up with speed almost like you're trying to jump slightly without leaving the ground. Works your quads, glutes and hamstrings while keeping your heart rate elevated.

03

Push-Ups

Upper Body

Hands slightly wider than shoulder-width, lower your chest toward the floor and push back up. If full push-ups are too challenging, drop to your knees or do them against a wall. Keep moving for the full 40 seconds.

04

Mountain Climbers

Core + Cardio

Get into a plank, hands under shoulders. Drive one knee toward your chest then quickly switch legs like you're running horizontally. Keep your hips low and avoid letting them pike up into the air.

05

Squat Jumps

Power + Legs

Perform a regular squat, then explode upward into a jump, landing softly back into the next squat. Squat jumps build explosive power while torching calories fast. If jumping is too much, stick with fast bodyweight squats.

06

Plank Shoulder Taps

Core Stability

Get into a hand plank, feet slightly wider than hip-width. Tap your right hand to your left shoulder, then alternate while keeping your hips as still as possible. This builds serious core strength over time.

How Often Should You Do HIIT?

HIIT is intense, which means your body needs real recovery time between sessions. Unlike light daily walks, this isn't something to do every single day.

ScheduleDetails
3x per weekThe sweet spot for most people, for example Monday, Wednesday, Friday
Rest daysLight activity like walking or stretching in between, not complete rest
Too much HIITCan cause burnout, elevated stress hormones and slower progress

More isn't always better. Smart frequency is what gets results.

How to Make It Harder or Easier

To Make It Easier

Reduce work intervals to 30 seconds and increase rest to 30 seconds. Remove jumping movements and replace with slower controlled versions. Take a few extra seconds of rest between exercises if needed.

To Make It Harder

Increase work intervals to 45 to 50 seconds while keeping rest at 20 seconds. Add a third full round instead of two. Increase your speed and push closer to your true maximum effort.

Your fitness will improve faster than you expect. What feels brutal in week one often feels manageable by week four. When that happens, that's your cue to increase the challenge.

Common Mistakes to Avoid

  • Skipping the warm-up

    This is the fastest way to get injured doing HIIT. Two minutes of warm-up is non-negotiable before every single session.

  • Sacrificing form for speed

    Going fast with bad form increases injury risk without improving results. Move as fast as you can while maintaining good technique, not faster.

  • Doing it every single day

    Your body needs recovery to actually adapt and get stronger. Rest days are part of the program, not a break from it.

  • Comparing yourself to others

    What matters is that you're working close to your own limit, not matching someone else's pace. Your "maximum effort" is personal.

Your HIIT Quick-Start Checklist

  • Warm up for 2 minutes before every session
  • 40 seconds work, 20 seconds rest per exercise
  • Complete 2 full rounds of all 6 exercises
  • Do this 3 times a week with rest days in between
  • Focus on form first, speed second

Final Thoughts

You don't need an hour at the gym to get a workout that genuinely challenges your body and improves your fitness. Fifteen minutes of focused, high-intensity effort done consistently three times a week can transform your cardiovascular health, build real strength, and torch calories long after you've finished.

No equipment. No excuses. Just you, your effort, and 15 minutes.

Set a timer, hit play on the routine above, and see how strong you feel by the end. Your future self, fitter, more energized and proud of showing up, is waiting on the other side of these 15 minutes.